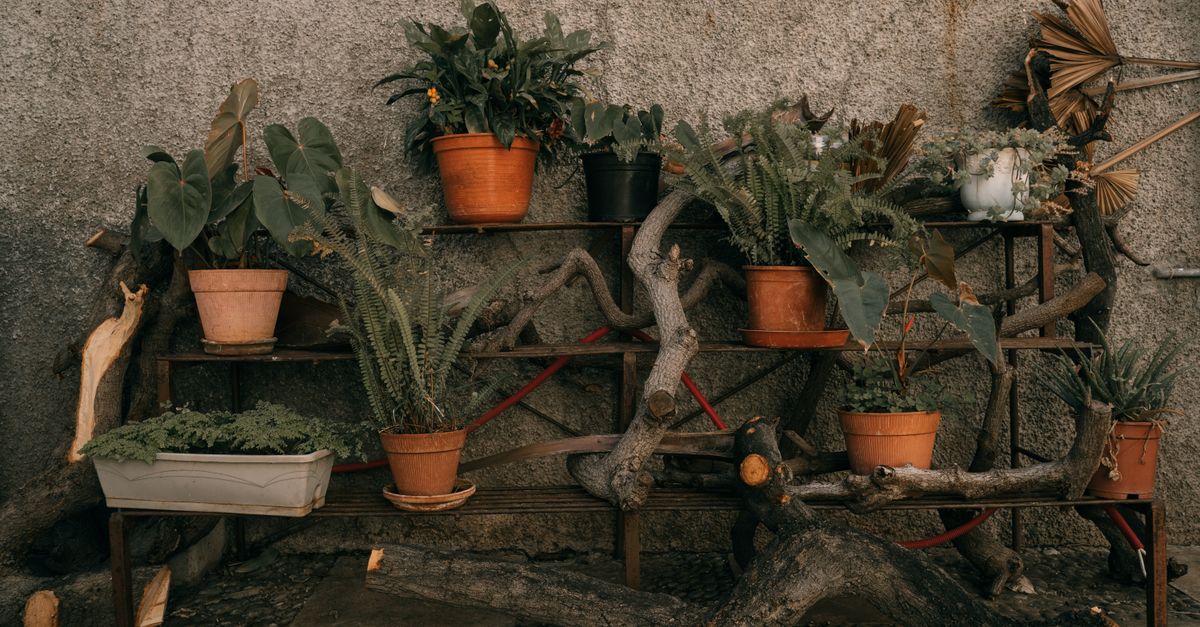
There’s nothing quite like the vision of lush greenery cascading from beautifully arranged shelves, transforming a blank wall into a living work of art. I’ve seen countless gorgeous images online, and like many of you, I’ve fallen victim to the DIY plant shelf dream. You see a simple tutorial, grab some wood, brackets, and maybe a few of your favorite potted plants, and then… disaster. Not immediately, perhaps. But over time, that perfectly aligned shelf starts to sag, the screws pull out, or in the worst cases, the entire assembly comes crashing down, scattering soil, broken pots, and bruised plant babies across your floor.
I’ve been there. My first attempt at a multi-tiered plant shelf resulted in a slow, agonizing lean that had me removing plants one by one, watching my dream wilt (literally) under the weight of poor planning. The internet is full of ‘easy’ DIY plant shelf ideas, but what they often skip are the crucial, non-obvious details that differentiate a flimsy facade from a truly robust, long-lasting plant display. It’s not just about the weight of the plants; it’s about the physics, the materials, and the hidden stresses that accumulate over time. The mistake I see most often is treating a plant shelf like any other decorative shelf, underestimating the dynamic load, the moisture, and the sheer volume of organic material it needs to support. What changed everything for me was a deeper dive into the actual engineering, understanding that a plant shelf needs to be built with a purpose in mind, not just aesthetics.
Key Takeaways
- Anchor directly into wall studs or use heavy-duty toggle anchors designed for substantial weight, never relying on drywall alone.
- Prioritize shelf material stiffness and thickness to prevent sagging, choosing solid wood over plywood for long spans, or reinforcing thinner boards.
- Account for the dynamic and increasing weight of plants, including wet soil and growing plants, by over-engineering your shelves from the start.
- Implement strategic moisture management to protect shelf materials and wall integrity, preventing hidden structural damage over time.
Underestimating the True Weight: The Silent Killer of DIY Shelves
When most people plan a plant shelf, they glance at their potted plants and think, ‘Oh, that’s not too heavy.’ This is the first, and perhaps most critical, mistake. What you see is rarely what you get in terms of actual load. A small terracotta pot with a compact succulent might weigh a pound or two dry. But when that pot is filled with damp soil, a larger established plant, and has just been watered, its weight can easily quadruple. Consider a 6-inch diameter pot. Dry, it might be 3 lbs. Wet, with a mature plant, it can easily hit 10-12 lbs. Now multiply that by five or six pots on a single shelf, and suddenly you’re looking at 50-70 lbs, not including the shelf material itself. And plants grow. What starts as a small cutting becomes a sprawling specimen, adding more biomass and requiring larger pots and more soil. This is a dynamic, increasing load, not a static one.
In my experience, a common 1x8 or 1x10 pine board, while looking sturdy, can sag significantly under these combined weights over a span of even 30-36 inches if not properly supported. The mistake is calculating the weight for dry plants in small pots. What actually works is to over-engineer your shelves. Assume each typical plant will weigh at least 10-15 lbs, plus the weight of the pot and wet soil. Then add another 5-10 lbs per linear foot for the shelf material itself. This isn’t just about static load; it’s about distributed load and point loads. A few heavy pots concentrated in the middle of a shelf will cause more stress than the same total weight evenly spread out. Always calculate for the heaviest possible scenario and then add a 20-30% safety margin. If your calculation suggests 50 lbs, build for 75 lbs. This might mean thicker wood, shorter spans between supports, or adding a hidden reinforcing beam underneath.
The Fatal Flaw of Drywall Anchors: Why They Betray Your Botanical Dreams
Ah, drywall anchors. They promise an easy installation without the need to hunt for studs. And for lightweight picture frames or small decorative items, they work just fine. For plant shelves, however, they are often a recipe for disaster. Drywall, by its very nature, is not designed to bear significant shear weight, especially when that weight is dynamic and potentially increasing due to watering and plant growth. Most standard drywall anchors are rated for 10-25 lbs per anchor. A typical shelf might use two anchors per bracket, totaling 20-50 lbs if installed perfectly and under ideal conditions. Add in a bit of off-center weight, a slight tug from a leaning plant, or the vibrations of daily life, and those anchors begin to pull away, enlarging the hole in the drywall until they fail completely.
What changed everything for me was the realization that unless you’re hanging a single, very lightweight air plant on a tiny shelf, you must hit a wall stud. Wall studs are the structural backbone of your walls, typically 1.5 inches wide and spaced 16 or 24 inches apart. Investing in a reliable stud finder is non-negotiable. For shelves that run along a wall, aim to hit at least two, preferably three, studs. If your desired shelf length doesn’t perfectly align with stud spacing, adjust the length or consider adding a decorative vertical support that is anchored into a stud, distributing the load. If hitting a stud isn’t possible for a short shelf, opt for heavy-duty toggle anchors (like Snaptoggles or similar brands) that can distribute weight over a larger area of drywall, and still only use them for loads well below their stated maximum. Never, ever rely on plastic expansion anchors for anything more than the lightest plants. The cost of a few extra minutes of planning and proper anchoring far outweighs the cost of replacing plants, shelves, and repairing drywall.
The Silent Sag: Why Material Choice and Span Length Matter More Than You Think
You’ve picked your wood, lovingly stained it, and installed it. But after a few months, you notice a slight curve in the middle of the shelf – the dreaded sag. This isn’t just an aesthetic issue; it’s a sign of structural weakness that can lead to eventual failure. The material you choose and the unsupported span length are critical factors often overlooked in DIY tutorials.
Softwoods like pine, while inexpensive and easy to work with, are prone to sagging under sustained weight, especially with the added moisture from plants. A 1-inch thick (actual ~0.75 inch) pine board over a 3-foot span with 50 lbs of plants is almost guaranteed to sag over time. Plywood can be stiffer, but only if it’s thick enough and the grain direction is considered. Particle board or MDF, often found in cheap pre-made shelves, are absolute no-gos for plant shelves due to their low strength and catastrophic failure in the presence of moisture.
What actually works is to choose denser, stiffer woods like oak, maple, or even robust hardwoods if your budget allows. If using pine or other softwoods, increase the thickness (e.g., 2x material, actual ~1.5 inches thick) or significantly reduce the span length between supports. For a 36-inch span, I wouldn’t go thinner than 1.5 inches of solid wood for anything but the lightest display. Another effective strategy is to add a reinforcing metal bar or a wooden stiffener underneath the shelf, especially for longer spans. This doesn’t need to be visible; a simple 1x2 or 1x3 screwed flat to the underside can dramatically increase stiffness without altering the top aesthetic. The key is to calculate the span and potential deflection. A good rule of thumb I use is to assume a maximum unsupported span of 24 inches for 0.75-inch thick softwood shelves carrying moderate plant loads, and no more than 36 inches for 1.5-inch thick hardwood. If you need longer, add more supports or reinforce.
The Moisture Menace: Protecting Your Investment from Within
Plants need water. Water, if not properly managed, is an insidious enemy to wooden shelves and drywall. Every time you water your plants, there’s a risk of spills, drips, and condensation. Over time, this moisture can lead to wood rot, mold growth, warping, and weakening of the shelf material. Even a small, undetected leak can seep into the wall behind the shelf, causing drywall damage, encouraging mold, and compromising the integrity of your anchors.
In my early days, I learned this the hard way when a beloved propagation station caused a dark stain and softened wood on a lower shelf. What actually works is a multi-pronged approach to moisture management. Firstly, always use plant saucers or trays that are appropriately sized and don’t overflow. I prefer ones with a slight lip that can catch excess water. Secondly, seal your wooden shelves thoroughly. Multiple coats of a waterproof sealant like polyurethane, spar varnish, or a marine-grade finish are essential, paying particular attention to edges and undersides. I even consider adding a thin, clear acrylic sheet on top of shelves that will hold particularly thirsty plants or propagation trays. Thirdly, think about airflow. Good air circulation prevents excessive humidity buildup and helps surfaces dry quickly. Lastly, develop a watering routine that minimizes spills. Water plants in the sink or bathtub if possible, letting them drain completely before returning them to the shelf. If you must water on the shelf, do so carefully, and immediately wipe up any spills. This proactive approach saves your shelves, your walls, and your peace of mind.
Overlooking Installation Quality: Details That Determine Longevity
Even with the right materials and anchoring, poor installation technique can quickly undermine your efforts. Screws that aren’t fully seated, wobbly brackets, or uneven leveling might seem minor at first, but they introduce stresses and weaknesses that compound over time. A shelf that isn’t perfectly level will naturally shift weight, straining the weakest points.
The mistake I often observe is rushing through the assembly and attachment phases. Using power drills on too high a torque setting can strip screws or crack wood. Choosing the wrong type or length of screw for the bracket and wall material is another common pitfall. For instance, using short, thin screws into a stud is almost as bad as using drywall anchors, as they won’t fully engage the strong wood fibers.
What actually works is meticulous attention to detail during installation. Use a good quality level, not just a phone app, for every shelf. Pre-drill pilot holes for all screws to prevent wood splitting and ensure a clean, straight entry, especially when screwing into studs. Match screw type to material: coarse-thread screws for wood, fine-thread for metal brackets. Ensure screws are long enough to penetrate at least 1.5 inches into a stud. For heavier loads, consider using lag bolts if appropriate for your bracket type. When attaching brackets, tighten screws firmly but avoid over-tightening, which can strip the screw hole. After installation, perform a ‘stress test’: apply moderate downward pressure (equal to your estimated full load) evenly across the shelf. Listen for creaks, check for wobbles, and re-tighten or reinforce as needed. This final quality check is often skipped but is crucial for ensuring your plant shelf is genuinely ready to support its leafy inhabitants for years to come.
Frequently Asked Questions
Q1: Can I use L-brackets for heavy plant shelves, or do I need something stronger?
A1: Standard L-brackets can work for moderate loads, but their strength depends heavily on their size, material thickness, and how they’re anchored. For truly heavy plant shelves, especially those with multiple large pots, consider using robust, reinforced L-brackets, triangle brackets, or even concealed floating shelf hardware designed for substantial weight. Always ensure your brackets are anchored directly into wall studs.
Q2: How can I tell if my existing DIY plant shelf is strong enough?
A2: Look for signs of sagging, bowing, or any slight separation between the shelf and the wall. Gently press down on different parts of the shelf to feel for wobbles or creaks. If you used drywall anchors and the shelf feels less than rock-solid, it’s likely not strong enough for the long term. A visual inspection for cracked paint around screw heads or bulging drywall can also indicate failure points.
Q3: What’s the best wood to use for DIY plant shelves to prevent sagging?
A3: Hardwoods like oak, maple, and even sturdy softwoods like Douglas fir offer better resistance to sagging than common pine. The key, regardless of wood type, is thickness and span. For a typical 3-foot span with moderate plant weight, aim for at least 1.5-inch actual thickness (e.g., a 2x material). If you must use thinner wood, significantly shorten the span between supports or add a hidden reinforcing metal or wood stiffener underneath.
Q4: My shelves are in a very humid room (like a bathroom). How can I protect them from moisture damage?
A4: In high-humidity environments, waterproofing is paramount. Use marine-grade spar varnish or multiple coats of exterior-grade polyurethane sealant, ensuring all sides and edges of the wood are completely sealed. Consider moisture-resistant materials like PVC trim board (often used for exterior trim) or treated lumber if painted. Always use waterproof saucers, and ensure good ventilation in the room to reduce ambient humidity.
Q5: What if I can’t find studs where I want my shelves? Are there any safe alternatives for heavy plants?
A5: If studs are genuinely unavailable for a short, specific shelf, your safest bet is heavy-duty toggle anchors (e.g., Snaptoggles or Toggle Bolts) that expand behind the drywall to distribute weight over a large area. These are significantly stronger than plastic expansion anchors. Even with these, stay well below their stated maximum weight ratings, and regularly check for any signs of loosening. For longer, heavier shelves, if studs aren’t an option, you might need to install horizontal blocking between studs (which involves cutting open the drywall), or opt for freestanding shelf units instead of wall-mounted ones.
Building beautiful, sturdy plant shelves that last requires more than just good intentions. It demands a thoughtful approach to weight, anchoring, materials, and moisture control. By understanding and addressing these often-overlooked details, you can create a truly resilient display that will showcase your beloved plants for years to come, without the fear of a sudden, leafy catastrophe. Take the time, invest in the right materials, and you’ll be rewarded with a thriving indoor garden on walls that stay strong.