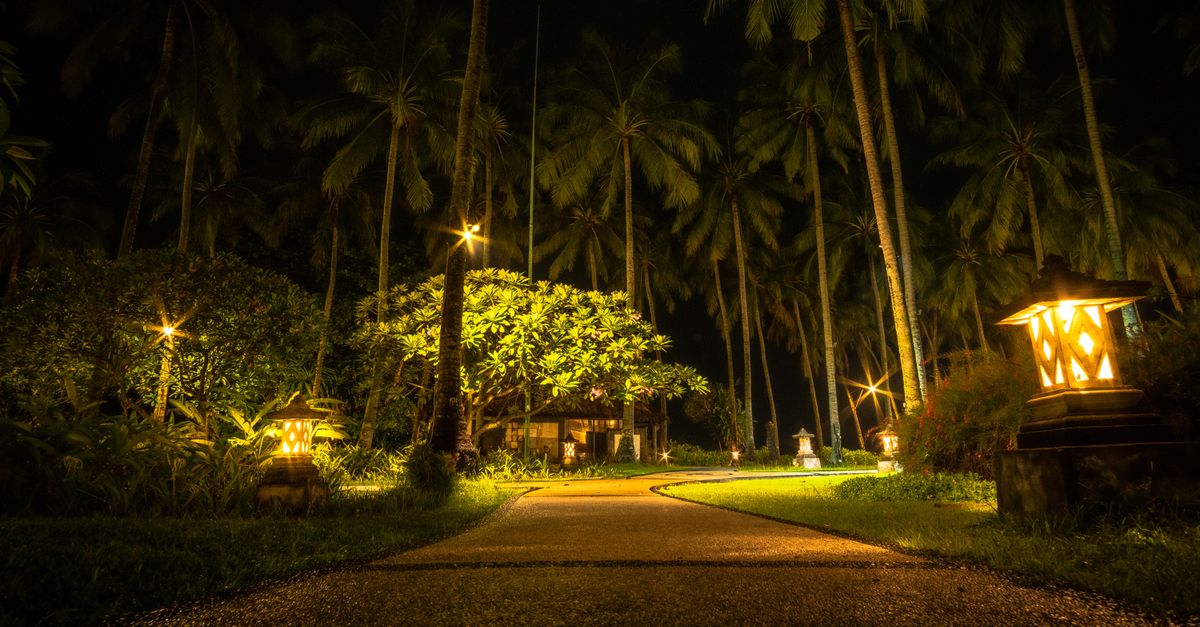
You’ve done it before, haven’t you? Spent a lovely afternoon carefully placing new garden path lights, envisioning those perfect, softly glowing evenings. You admired them for a few weeks, maybe even a couple of months. Then, one by one, they started flickering, dimming, or just… dying. The magic fades, replaced by a dark, frustrating silence. Eventually, you’re left with a graveyard of dead lights and the dread of buying another batch, knowing they’ll likely suffer the same fate. Most people simply accept this as the cost of having outdoor lighting, blaming cheap materials or bad luck. But in my years of designing and maintaining countless garden spaces, I’ve found that the problem isn’t always the lights themselves. Often, it’s a fundamental misunderstanding of the unique challenges outdoor lighting faces and the crucial, often overlooked, installation and maintenance practices that truly determine their longevity.
Outdoor lighting isn’t just an indoor fixture moved outside; it operates in a vastly different, far more hostile environment. Ignoring these differences is why most garden lights die prematurely. You need a proactive strategy, not just a reactive replacement cycle. This isn’t about buying the most expensive lights – it’s about making smart choices and adopting habits that protect your investment and keep your garden glowing for years.
Key Takeaways
- The primary cause of early garden light failure is water ingress and improper drainage, often due to overlooked installation details.
- Voltage drop, improper wiring, and inadequate power supplies silently sabotage light performance and shorten bulb life.
- Regular, targeted maintenance and protection from environmental stressors are far more critical than initial light quality for longevity.
- Investing in higher IP-rated fixtures and understanding their placement ensures long-term resilience against the elements.
The Silent Killer: Water Ingress and Bad Drainage
If your garden lights are dying quickly, water is almost certainly the primary culprit, not faulty bulbs or ‘cheap’ fixtures. I’ve seen countless homeowners blame the manufacturer when the real issue lies in installation errors that invite moisture in. Think about it: your outdoor lights are exposed to rain, irrigation systems, morning dew, and even underground moisture. A tiny crack, a loose seal, or simply poor placement can turn a beautiful fixture into a water trap.
Here’s what most people miss: water isn’t just about direct rain. Underground cables, if not properly buried or sealed, can wick moisture directly into low-voltage connectors and fixture bases. I once diagnosed a seemingly inexplicable series of failures in a client’s pristine garden. Turns out, their automatic irrigation system, while perfectly watering their plants, was consistently spraying the top of the path lights for 10 minutes every morning. Those tiny rubber gaskets, not designed for direct, sustained spray, eventually failed, turning the fixtures into miniature ponds.
Another common mistake is placing ground-mounted spotlights or uplights in areas where water collects, even subtly. Over time, that standing water will breach seals, corrode wiring, and short out components. The solution? Always ensure your ground-mounted fixtures have adequate drainage around their base. This might mean adding a small layer of gravel or ensuring they’re on a slight rise rather than in a natural depression. For pathway lights, check that their base is firmly seated and that the surrounding soil slopes slightly away from the fixture. When installing, always use waterproof wire connectors (the gel-filled twist-ons are my go-to) and create a drip loop where possible to prevent water from running down the wire directly into the connection point. This meticulous attention to waterproofing details during installation is what separates lights that last from those that are destined for the landfill.
The Invisible Saboteur: Voltage Drop and Power Supply Mismatches
Most people think outdoor lighting is just about plugging in a transformer and connecting some wires. While it’s relatively simple, ignoring the principles of voltage drop and power matching is a surefire way to shorten the life of your lights and leave your garden looking underwhelming. I often encounter clients whose ‘bright’ new LED lights seem dim, or whose halogen bulbs burn out at an alarming rate. They assume the bulbs are bad, but the real issue is often the power running to them.
Voltage drop occurs when the electrical current travels too far through a wire that’s too thin. Imagine trying to drink a thick milkshake through a very narrow, very long straw – it’s going to be a struggle, and you won’t get much. For lights, this means the bulbs aren’t receiving their intended voltage, leading to dimmer output for LEDs or premature failure for incandescent/halogen bulbs (which overheat trying to compensate). I once saw a DIY homeowner connect 20 low-voltage lights to a single, undersized wire run stretching 150 feet. The lights at the far end were barely glowing, and the transformer was humming loudly under strain. This constant under-powering stresses the bulbs and the transformer, drastically reducing their lifespan.
Here’s the pro secret: always calculate your total wattage and choose a transformer with sufficient capacity (leaving at least 10-20% headroom). More importantly, design your wiring runs carefully. Use thicker gauge wire (like 12- or 10-gauge) for longer runs or higher wattage loads. Consider a ‘hub and spoke’ wiring layout, where multiple shorter runs branch out from a central wire, minimizing the length any single light needs to draw power from. For LED systems, ensure your transformer is compatible with LED loads – some older magnetic transformers can cause flickering or early failure with certain LED drivers. A proper power supply isn’t just about making lights work; it’s about making them work efficiently and lastingly.
The Environmental Assault: Heat, UV, and Physical Damage
Your garden lights aren’t just battling water; they’re under constant assault from the environment. Heat, UV radiation, and physical impacts are relentless forces that most homeowners underestimate. I’ve seen beautifully installed fixtures degrade into brittle, faded shells in a surprisingly short time because these factors weren’t considered.
Take the summer sun, for instance. High temperatures can cook internal components, especially in enclosed fixtures, leading to early failure. UV radiation, particularly in direct sunlight, can quickly break down plastic casings, rubber seals, and even paint finishes, making them brittle and susceptible to water ingress. I often advise clients against using cheaper plastic solar lights in direct, intense sun zones, as their housings will crack and fade within a year or two. What changed everything for me was prioritizing materials and placement to mitigate these impacts. For fixtures that will be in direct sun, I opt for brass, copper, or high-quality powder-coated aluminum, which are far more resistant to UV and heat than most plastics.
Beyond natural elements, physical damage is a significant factor. Lawn mowers, weed whackers, eager pets, and even curious children can snap stems, crack lenses, or sever wires. One client’s beautiful pathway lights were constantly being bent or broken by a zealous landscaper. My solution was to move the lights slightly back from the immediate edge of the path, or to install low, decorative stones as physical barriers around them. When planning, consider the ‘traffic’ in your garden. Will a mower pass over it? Will children play near it? Choose robust, low-profile fixtures for high-traffic areas, or protect them with strategic landscaping elements. This proactive thinking about their environment is crucial for longevity.
The Overlooked Imperative: Quality Components Beyond the Bulb
Many homeowners focus solely on the bulb’s lumen output or color temperature when buying garden lights. While important, the bulb is often the least likely point of failure if the rest of the fixture is poorly designed or constructed. In my experience, the overlooked components – the housing material, seals, wiring, and lens – are what truly dictate a fixture’s lifespan.
I’ve seen countless scenarios where a ‘bargain’ set of lights looked great initially, only for the plastic stakes to snap, the wire insulation to crack, or the internal wiring to corrode within months. A common mistake I see most often is people investing in expensive LED bulbs but screwing them into flimsy, single-piece plastic housings with inadequate seals. The bulb might last 50,000 hours, but the housing will fail in 5,000, rendering the ‘long-life’ bulb useless.
What changed everything for me was developing an eye for the construction details. Look for fixtures with:
- Solid housing materials: Marine-grade brass, copper, or heavy-gauge powder-coated aluminum are superior to thin plastic or painted steel.
- High IP (Ingress Protection) ratings: An IP65 rating or higher indicates strong protection against dust and water jets, essential for ground-mounted or exposed fixtures. IP67 means it can withstand temporary immersion.
- Quality gaskets and seals: These should be visible, substantial, and fit tightly.
- Robust wiring and connectors: Thick, UV-resistant cable sheathing and pre-installed, sealed connectors (if applicable) are good indicators.
- Durable lenses: Tempered glass is better than thin plastic, which can scratch, yellow, or crack.
These details cost more upfront, but they pay for themselves quickly by preventing the constant cycle of replacement. Think of it as building a sturdy house around your precious light source, rather than a flimsy tent.
The Maintenance Myth: ‘Set It and Forget It’ Doesn’t Work Outdoors
The biggest misconception about outdoor lighting is that once installed, it’s a ‘set it and forget it’ affair. This ‘maintenance myth’ is a primary reason why even high-quality fixtures fail prematurely. Your garden is a living, changing environment, and your lights need consistent care to withstand it. I’ve been called to countless homes where a seemingly dead system was revived by simple, routine maintenance that had been neglected for years.
For example, I had a client with beautiful, high-end brass path lights that had all dimmed to almost nothing. They were convinced the entire system was faulty. A quick inspection revealed that years of fallen leaves, mulch, and soil buildup had slowly buried the top of the fixtures, trapping heat and moisture, and obscuring the light output. The bulbs were fine; they just couldn’t breathe or shine properly. What actually works is a proactive, seasonal maintenance schedule.
Here’s what you should be doing, at minimum, twice a year (spring and fall):
- Clean fixtures: Wipe down lenses and housings to remove dirt, pollen, and hard water stains. A soft cloth and mild soap are usually sufficient. For solar lights, keep the solar panel meticulously clean.
- Inspect for damage: Look for cracked lenses, frayed wires, loose connections, or bent stakes. Repair or replace immediately.
- Check seals and gaskets: Ensure they are still tight and pliable. Replace any that are cracked or brittle.
- Clear debris: Remove leaves, mulch, and soil from around fixture bases to prevent moisture trapping and overheating.
- Adjust aiming: As plants grow, they can block light. Re-aim spotlights or path lights for optimal illumination.
- Prune foliage: Trim any shrubs or plants that are growing directly against or over your lights, as this can trap heat and create excessive moisture, especially for solar fixtures.
- Test connections: Wiggle wire connectors gently to ensure they are secure. If you have older non-waterproof connectors, consider upgrading them to gel-filled ones.
This simple routine takes less time than constantly troubleshooting and replacing dead lights. It’s an investment in the longevity of your system, ensuring your garden remains beautifully lit, season after season.
Frequently Asked Questions
Q1: My solar path lights stop working after a few months. Why?
A1: The most common reasons for early solar light failure are insufficient charging, battery degradation, and water ingress. Ensure the solar panel is completely clean and receives at least 6-8 hours of direct, unobstructed sunlight daily. If the light still fails, the rechargeable battery (usually an AA or AAA NiMH) likely needs replacing, as these often have a shorter lifespan than the LED itself. Also, check for cracked housings or loose seals that allow water to corrode internal components. Cheap plastic fixtures often degrade quickly in direct UV light.
Q2: Some of my low-voltage landscape lights are dimmer than others. What’s wrong?
A2: This is a classic symptom of voltage drop. The lights furthest from the transformer or on a long, thin wire run are receiving less power. To fix this, consider using a heavier gauge wire (e.g., 10 or 12 gauge) for your main runs, shortening the cable lengths, or implementing a ‘hub and spoke’ wiring layout where multiple shorter runs radiate from a central thicker wire. Ensure your transformer has enough wattage capacity for all connected lights with some headroom.
Q3: How do I protect my outdoor light wiring from being cut by gardening tools or pests?
A3: For protection against gardening tools, ensure wires are buried at least 6 inches deep, or ideally, run through PVC conduit in high-risk areas. For areas prone to digging (e.g., flower beds), consider running the wires through flexible metallic conduit. Against pests like rodents, burying wires adequately and using PVC conduit generally offers good protection, as they’ll deter chewing. Always use direct-burial rated wire for outdoor installations.
Q4: My outdoor LED bulbs are flickering or burning out quickly, even though they’re rated for long life. What’s the issue?
A4: While LEDs have long lifespans, flickering or early failure often points to issues with the power supply or the fixture’s internal components. For low-voltage systems, ensure your transformer is compatible with LED loads (some older magnetic transformers can be problematic). Voltage fluctuations or incorrect wiring can also stress LED drivers. Overheating within the fixture due to poor heat dissipation (often in cheap, sealed units) can also kill LEDs prematurely. Make sure fixtures are not buried in dense foliage or soil, which can trap heat.
Q5: Is it worth buying more expensive outdoor lights, or are cheaper ones just as good?
A5: In my experience, ‘cheaper’ often means inferior materials and construction, leading to premature failure, especially regarding housing, seals, and wiring. While initial cost is higher, investing in fixtures made from marine-grade brass, copper, or robust aluminum with high IP ratings and quality internal components will significantly outlast cheaper plastic or painted steel options. You save money and frustration in the long run by avoiding constant replacements and troubleshooting. It’s about value, not just upfront price.
Conclusion
Don’t let dead garden lights dim your evenings or drain your wallet. The constant cycle of replacing outdoor fixtures isn’t an unavoidable reality; it’s a symptom of overlooked installation details, insufficient power management, environmental neglect, and a focus on cheapness over true quality. By understanding the real enemies of outdoor lighting – water, voltage issues, harsh weather, and flimsy components – and adopting a proactive approach to installation and maintenance, you can transform your garden’s illumination from a temporary flicker to a lasting, enchanting glow. Take the time to implement these strategies, and you’ll find yourself enjoying your beautifully lit garden for many seasons to come, free from the frustration of constant replacements. Your outdoor space deserves to shine brightly, not just for a moment, but for years.