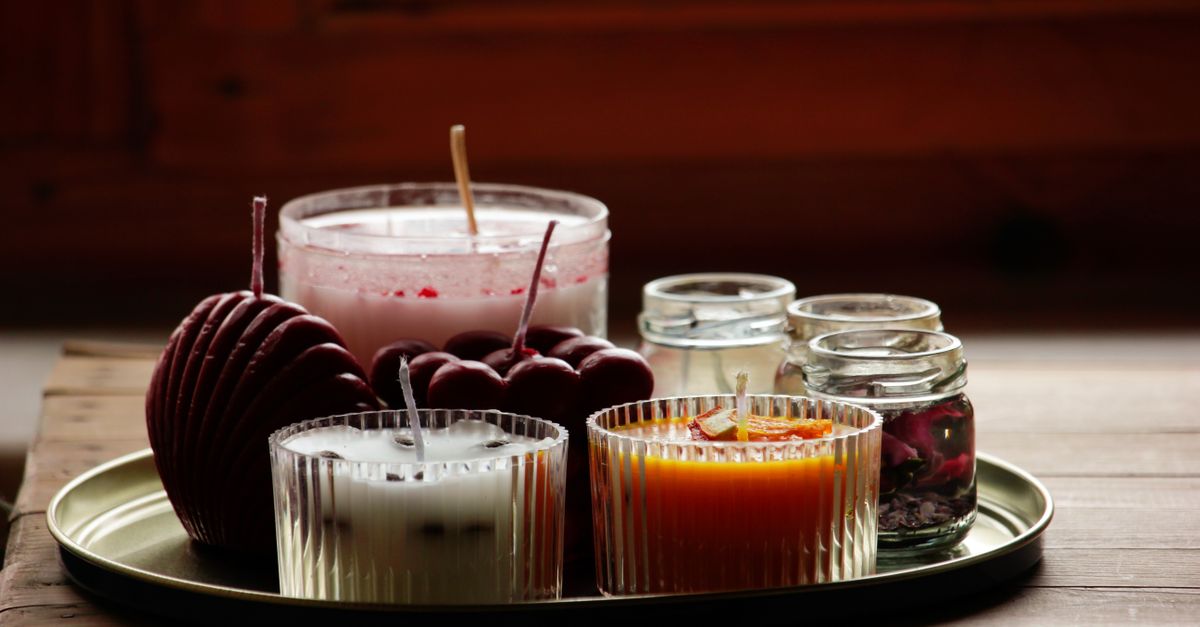
You’ve seen the beautiful, glowing candles in boutique shops, their scent filling the air, burning down perfectly even. Inspired, you gather your waxes, wicks, and essential oils, ready to create that same magic at home. But then, reality hits. Your homemade candle tunnels down the middle, leaving a thick wall of unburnt wax. Or maybe it cracks, the scent barely registers, or the flame flickers weakly, drowning itself in a pool of wax. You’re left with a messy, frustrating failure and a serious case of ‘what went wrong?’
In my experience, the biggest mistake most aspiring candlemakers make isn’t a lack of effort, but a misunderstanding of the intricate science behind a truly successful burn. It’s not just melting wax and sticking a wick in it; it’s a delicate balance of ratios, temperatures, and materials that even seasoned pros spend years perfecting. The good news? With a few key adjustments and a deep dive into the ‘why’ behind common issues, you can transform your frustrating failures into consistently beautiful, fragrant, and long-lasting candles.
Key Takeaways
- Don’t Guess on Wick Size: The wick must perfectly match your wax type and container diameter to prevent tunneling and ensure an even burn.
- Master Pouring and Curing Temperatures: Specific temperatures for wax additives and pouring are crucial for scent throw and preventing surface imperfections.
- Understand Wax Blends for Performance: Different waxes offer unique benefits; blending them strategically can optimize scent, burn time, and appearance.
- Fragrance Oil Load is a Science: Overloading or underloading fragrance oil, or adding it at the wrong temperature, cripples scent throw and can ruin your candle.
The Misunderstood Role of the Wick: Why Size Matters More Than You Think
The number one culprit behind uneven burns and tunneling is almost always an incorrect wick size. This might sound overly simplistic, but hear me out: the wick is the engine of your candle. It draws up molten wax to feed the flame, and if it’s too small, it can’t create a melt pool that reaches the edges of your container. This leaves those dreaded wax walls, effectively wasting half your candle. Conversely, a wick that’s too large will burn too hot, creating an overly large melt pool, consuming wax too quickly, and potentially causing mushrooming or excessive soot.
What changed everything for me was realizing that wick selection isn’t just about the type of wax, but critically, the diameter of your container and the type of fragrance oil you’re using. A denser wax (like soy) or a heavily fragranced wax (fragrance oils can affect viscosity) needs a larger wick to achieve the same melt pool as a paraffin candle or one with lighter scent. The mistake I see most often is people buying a generic bag of wicks, thinking ‘a wick is a wick.’ This couldn’t be further from the truth. There are cotton wicks, wooden wicks, and various series (like CD, HTP, ECO, LX, zinc core) each designed for specific wax types and burn characteristics. For example, a CD (stabilized cotton) series wick is great for soy waxes due to its ability to handle thicker oils and create a wider melt pool, while a wooden wick might offer a different aesthetic and crackling sound.
To get it right, you must test different wick sizes for each specific candle recipe (wax type, container, and fragrance oil combination). Start by researching recommended wick series for your wax and then choose a few sizes larger and smaller than the initial recommendation. Burn your test candles for 2-4 hours at a time, allowing a full melt pool to form. A perfect melt pool should reach the edges of the container within this timeframe, with a depth of about 1/4 to 1/2 inch. The flame should be steady, not too large, and with minimal soot. This meticulous testing process, though time-consuming, is the absolute bedrock of a professional-quality candle.
The Silent Saboteurs: Pouring and Curing Temperatures
You’ve measured your wax, mixed your fragrance, and now it’s time to pour. But if you’re not paying close attention to temperature, you’re setting your candle up for failure long before it even sees a flame. The exact temperature at which you add your fragrance oil and then pour your wax into the container profoundly impacts both scent throw and surface appearance. This is a nuance most beginners overlook, leading to weak-smelling candles and ugly tops.
Most waxes, especially natural waxes like soy, have a specific ‘flash point’ for fragrance oil addition – a temperature at which the wax can bind most effectively with the oil without it evaporating or separating. Adding fragrance when the wax is too hot can cause the oil to ‘burn off,’ resulting in a weak scent, while adding it when the wax is too cool can lead to poor oil dispersion and uneven scent. Always follow your wax supplier’s recommended fragrance addition temperature (usually around 185°F for soy wax, but it varies).
Equally critical is the pouring temperature. Pouring too hot can cause wet spots (where the wax pulls away from the container glass), sinkholes, or frosting (a white crystalline effect common with natural waxes). Pouring too cold can also lead to an uneven, lumpy surface or micro-cracks. For many soy waxes, a pouring temperature between 135°F and 155°F is ideal, but again, this requires testing and observation based on your specific wax and environment. I once struggled with consistent frosting until I realized my studio was too cold; pre-warming my containers slightly before pouring made a noticeable difference.
Beyond pouring, curing is the invisible magic. This is the period, typically 1-2 weeks (sometimes longer for soy), where the wax fully hardens, and the fragrance oil binds completely with the wax molecules. Skipping or rushing the curing process is a primary reason for poor cold throw (how strong the candle smells unlit) and hot throw (how strong it smells lit). Think of it like aging wine; patience is rewarded with depth and complexity. In my early days, I was so eager to burn my creations, and they always smelled weaker than expected. Once I started patiently waiting the full two weeks, the difference was astounding. Resist the urge to light them early; your nose (and your guests’ noses) will thank you.
Beyond Just Soy: The Power of Strategic Wax Blends
Many candlemakers start with a single wax type, often soy, due to its natural appeal. While soy wax is wonderful for its clean burn and eco-friendliness, it also has its quirks – notorious for frosting, wet spots, and sometimes a weaker hot throw compared to paraffin. The mistake I see is thinking one wax fits all needs. What most people don’t realize is that some of the best professional candles use blends of waxes, leveraging the strengths of each to create a superior product.
For example, combining a small percentage of paraffin with soy wax can significantly boost fragrance throw, reduce frosting, and improve surface adhesion, giving you the best of both worlds. A common blend might be 90% soy and 10% paraffin. Adding a touch of coconut wax can increase scent throw and create a smoother, creamier top. Beeswax, known for its slow, clean burn, can be added to increase burn time and candle hardness, though it can dull fragrance and is harder to work with.
My personal breakthrough came when I started experimenting with a soy-coconut blend for my highly fragranced candles. The soy provided the clean, natural base I wanted, while the coconut wax gave an incredible boost to the hot throw that pure soy just couldn’t achieve consistently. It required more testing to get the ratios and temperatures right, but the results were undeniable. Don’t be afraid to read up on different wax properties (e.g., melt point, hardness, oil retention) and experiment with small batches. You’ll find that the perfect candle often isn’t made from a single ingredient, but a thoughtfully crafted symphony of them.
Fragrance Fiascos: Getting Your Scent Load and Addition Right
So you’ve chosen a lovely fragrance oil, but your candle barely smells when it’s burning, or worse, it smells acrid and strange. This isn’t just frustrating; it’s one of the most common and disheartening failures for new candlemakers. The problem often boils down to two critical factors: the fragrance oil load and the temperature at which it’s incorporated into the wax.
First, the fragrance oil load. Every wax has a maximum fragrance load it can hold, typically ranging from 6% to 12% of the wax’s weight. Going above this maximum won’t make your candle smell stronger; it will actually cause the oil to ‘bleed’ out of the wax, creating a greasy surface, a poor burn (because excess oil acts as a fuel, creating a larger, sooty flame), and often a weaker scent throw because the oil isn’t properly bound to the wax. Underloading, of course, results in a barely-there scent.
The mistake I see most often is people simply pouring in a ‘capful’ or ‘a bit extra’ without weighing the oil. You must weigh your fragrance oil for accuracy. If you’re using 10 ounces of wax and aim for an 8% fragrance load, you need 0.8 ounces of fragrance oil (10 oz wax * 0.08 = 0.8 oz). I used to eyeball it, and my candles were inconsistently scented. Switching to a precise scale made an immediate, dramatic difference.
Second, the temperature of addition. As mentioned with pouring temperatures, fragrance oils are delicate. If you add them when the wax is too hot (above its flash point), the volatile compounds in the oil can evaporate rapidly, reducing its potency. If you add it too cold, the oil may not properly emulsify with the wax, leading to ‘sweating’ (oil pooling on the surface) or uneven scent dispersion. Always add your fragrance oil when the wax has cooled to the recommended temperature range for fragrance addition specified by your wax supplier (typically between 180°F-185°F for soy, but verify for your specific wax). Stir gently but thoroughly for at least 2 minutes to ensure complete integration. This gives the oil the best chance to bind with the wax and release its full potential when burned.
The Overlooked Details: Container Prep and Environmental Factors
It’s easy to focus on the wax and wick, but the humble container and your surrounding environment play a far larger role than most people realize. These often-overlooked details can be the difference between a pristine, even-burning candle and one plagued by issues like ‘wet spots’ or inconsistent performance.
Container Preparation: Have you ever noticed areas where your candle wax pulls away from the glass, creating unsightly bubbles or clear patches? These are called ‘wet spots,’ and they’re rarely due to the wax itself, but rather temperature differences. The biggest culprit is pouring warm wax into a cold container. The wax shrinks as it cools, and if the container is too cold, the wax will contract unevenly, causing it to detach in places. To combat this, I started gently pre-warming my containers in a low oven (around 100-120°F) or with a heat gun before pouring. This creates a more uniform cooling process, leading to much better adhesion. Also, ensure your containers are meticulously clean and dry; any residue can affect adhesion and overall appearance.
Environmental Factors: Your crafting space isn’t just a place to make candles; it’s an active participant in their creation. Extreme temperature fluctuations, drafts, or high humidity can wreak havoc on your candles, especially during the crucial cooling and curing phases. A drafty room can cause one side of the candle to cool faster than the other, leading to uneven surfaces, sinkholes, or even cracks. High humidity can sometimes lead to ‘sweating’ of fragrance oils on the surface, particularly with certain waxes or if the fragrance load is too high.
My personal experience with this was during a particularly cold winter. Despite perfect pouring temperatures, my candles consistently had sinkholes and rough tops. I realized a cold draft from a nearby window was causing rapid, uneven cooling. Moving my cooling rack away from the draft and maintaining a consistent room temperature (around 70-75°F) made a world of difference. Consider your environment, and try to create a stable, draft-free zone for your candles to cool and cure. It’s a small adjustment that yields significant improvements.
Troubleshooting Common Candle Fails: A Quick Reference
Understanding the science is one thing, but knowing how to diagnose and fix a specific problem is another. Here are quick solutions to the most common homemade candle failures, rooted in the principles we’ve discussed:
- Candle Tunneling (Wick burns down the middle, leaving wax on the sides): Your wick is too small for the wax/container combination. Solution: Go up one or two wick sizes in your next test batch. Ensure you’re burning for 2-4 hours to establish a full melt pool. If it’s too late for the current candle, you can try using a heat gun to melt the excess wax down or wrap aluminum foil around the rim to create a makeshift ‘oven’ and force the melt pool to expand.
- Weak Scent Throw (Doesn’t smell strong when burning):
- Solution 1: Your fragrance oil load might be too low or too high (causing bleed-out and poor burn). Re-evaluate your percentage based on your wax’s maximum load, and weigh your oil precisely.
- Solution 2: You added fragrance oil at the wrong temperature. Ensure you’re adding it within your wax supplier’s recommended temperature range (typically 180-185°F for soy) and stir thoroughly for 2 minutes.
- Solution 3: Not enough curing time. Allow your candle to cure for a full 1-2 weeks (or longer, up to 4 weeks for some soy waxes) before lighting.
- Cracked or Bumpy Surfaces (Rough tops, sinkholes):
- Solution 1: Your pouring temperature was too cold or too hot. Test different pouring temperatures (typically 135-155°F for soy) to find the sweet spot for your wax and environment.
- Solution 2: The candle cooled too quickly or unevenly. Avoid drafts and extreme temperature fluctuations during cooling. Pre-warm containers if they are cold.
- Wet Spots (Wax pulls away from the glass container): Almost always a temperature issue. Solution: Pre-warm your containers before pouring and ensure a stable, consistent room temperature during the cooling process.
- Mushrooming or Excessive Soot (Black ‘mushroom’ on wick, black smoke): Your wick is too large or too long. Solution: Go down one wick size in your next batch. Always trim your wick to 1/4 inch before each burn.
- Candle Flame Drowning (Wick gets covered by wax pool): Your wick is too small, or your fragrance oil load is too high. Solution: Increase wick size in your next batch, or re-evaluate fragrance oil load. Ensure consistent wick trimming.
Every failed candle is a learning opportunity. Keep a detailed log of your experiments – wax type, wick size, fragrance oil, temperatures (addition and pouring), curing time, and observations. This methodical approach is what truly separates consistent candlemakers from those still guessing.
Frequently Asked Questions
How do I know if my wick size is correct for my candle?
The ideal wick size creates a full melt pool (wax melted to the edges of the container) within 2-4 hours of burning, with a depth of about 1/4 to 1/2 inch. The flame should be steady, not too large, and produce minimal soot. If you have excessive tunneling, the wick is too small. If the flame is too large, flickers excessively, or produces a lot of soot, the wick is likely too large.
Why does my homemade candle have a weak scent, even with a lot of fragrance oil?
This is a common issue with several causes. You might be adding fragrance oil at too high a temperature, causing it to evaporate. Ensure you add it within your wax’s recommended temperature range (usually 180-185°F for soy). Also, you could be overloading the wax; too much oil can prevent proper binding and burning, actually weakening the throw. Always weigh your fragrance oil precisely according to your wax’s maximum load, and ensure adequate curing time (1-2 weeks is typical) for the scent to fully develop.
How can I prevent ‘wet spots’ in my container candles?
Wet spots (where the wax pulls away from the glass) are primarily caused by uneven cooling. To prevent them, gently pre-warm your containers before pouring wax. You can do this in a low oven (around 100-120°F) or with a heat gun. Also, ensure your candle cools in a consistent, draft-free environment at a stable room temperature (around 70-75°F).
Why do my soy candles sometimes develop a rough, bumpy, or ‘frosted’ surface?
This is very common with natural waxes like soy, and it’s often a result of pouring temperature and cooling conditions. Pouring the wax either too hot or too cold can contribute to rough tops and frosting. Experiment with different pouring temperatures (typically between 135-155°F for soy) and ensure the candle cools slowly and evenly, away from drafts or rapid temperature changes.
Is it okay to use essential oils instead of fragrance oils for candles?
While technically possible, I strongly advise against using most essential oils (EOs) in candles, especially for beginners. EOs are highly volatile and often have a low flash point, meaning they evaporate quickly when heated, resulting in a very weak scent throw or even a change in scent. Many are also not formulated to burn safely in candles and can become fire hazards or release harmful compounds. Fragrance oils are specifically engineered for candle use, offering better scent throw and safety. If you must use EOs, research their flash points and safe usage rates meticulously, and expect a much lighter scent.
Crafting beautiful, high-performing homemade candles truly is an art and a science. It’s about patience, precision, and a willingness to understand the nuanced interactions between your materials. By mastering wick selection, temperature control, wax blending, and fragrance integration, you’re not just making candles – you’re creating an experience. So, grab your thermometer, get precise with your measurements, and embrace the testing process. Your next batch of candles will not only look stunning but will fill your home with the inviting glow and fragrance you’ve always dreamed of.